How to Drive With GetRide: Driver Mode, Ride Requests, Bidding & Payments
Learn how GetRide drivers use Driver Mode, availability, ride requests, bidding, cash/card context, wallet, earnings, payout and safety tools.
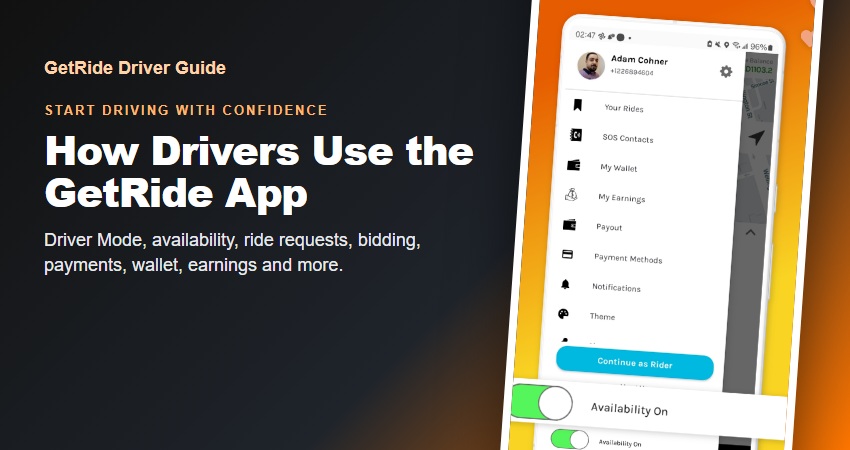
How Drivers Use the GetRide App: Driver Mode, Ride Requests, Bidding, Payments and Earnings Tools GetRide is designed so a driver can manage much of the working day from one app. Instead of using a separate product for every step, the Driver Mode experience brings together availability, ride requests, trip details, bidding, cash or card context, ride history, wallet and earnings-related navigation, notifications, safety tools and the ability to switch back to Rider Mode. This guide is written for potential and new GetRide drivers who want to understand what the app actually looks like before going online. The screenshots below are real GetRide app screenshots from the current store materials. They show the main Driver Mode controls and the actual ride-request workflow rather than generic rideshare artwork. Exact screens, categories, prices and account options can vary by location, account status, app version and current configuration. This guide explains the verified workflow without promising guaranteed ride volume, earnings, payout timing or availability in every market. 1. Start by Switching Into Driver Mode GetRide supports a dual-mode experience. A user can use the app as a rider, and an eligible account can switch into Driver Mode when it is time to provide rides. The navigation includes a Continue as Driver action, which makes the transition clear. An eligible GetRide account can switch from Rider Mode into Driver Mode from the app menu. Switching modes is useful…